Přejít k obsahu webu
- Put 4 batteries in it – hot up
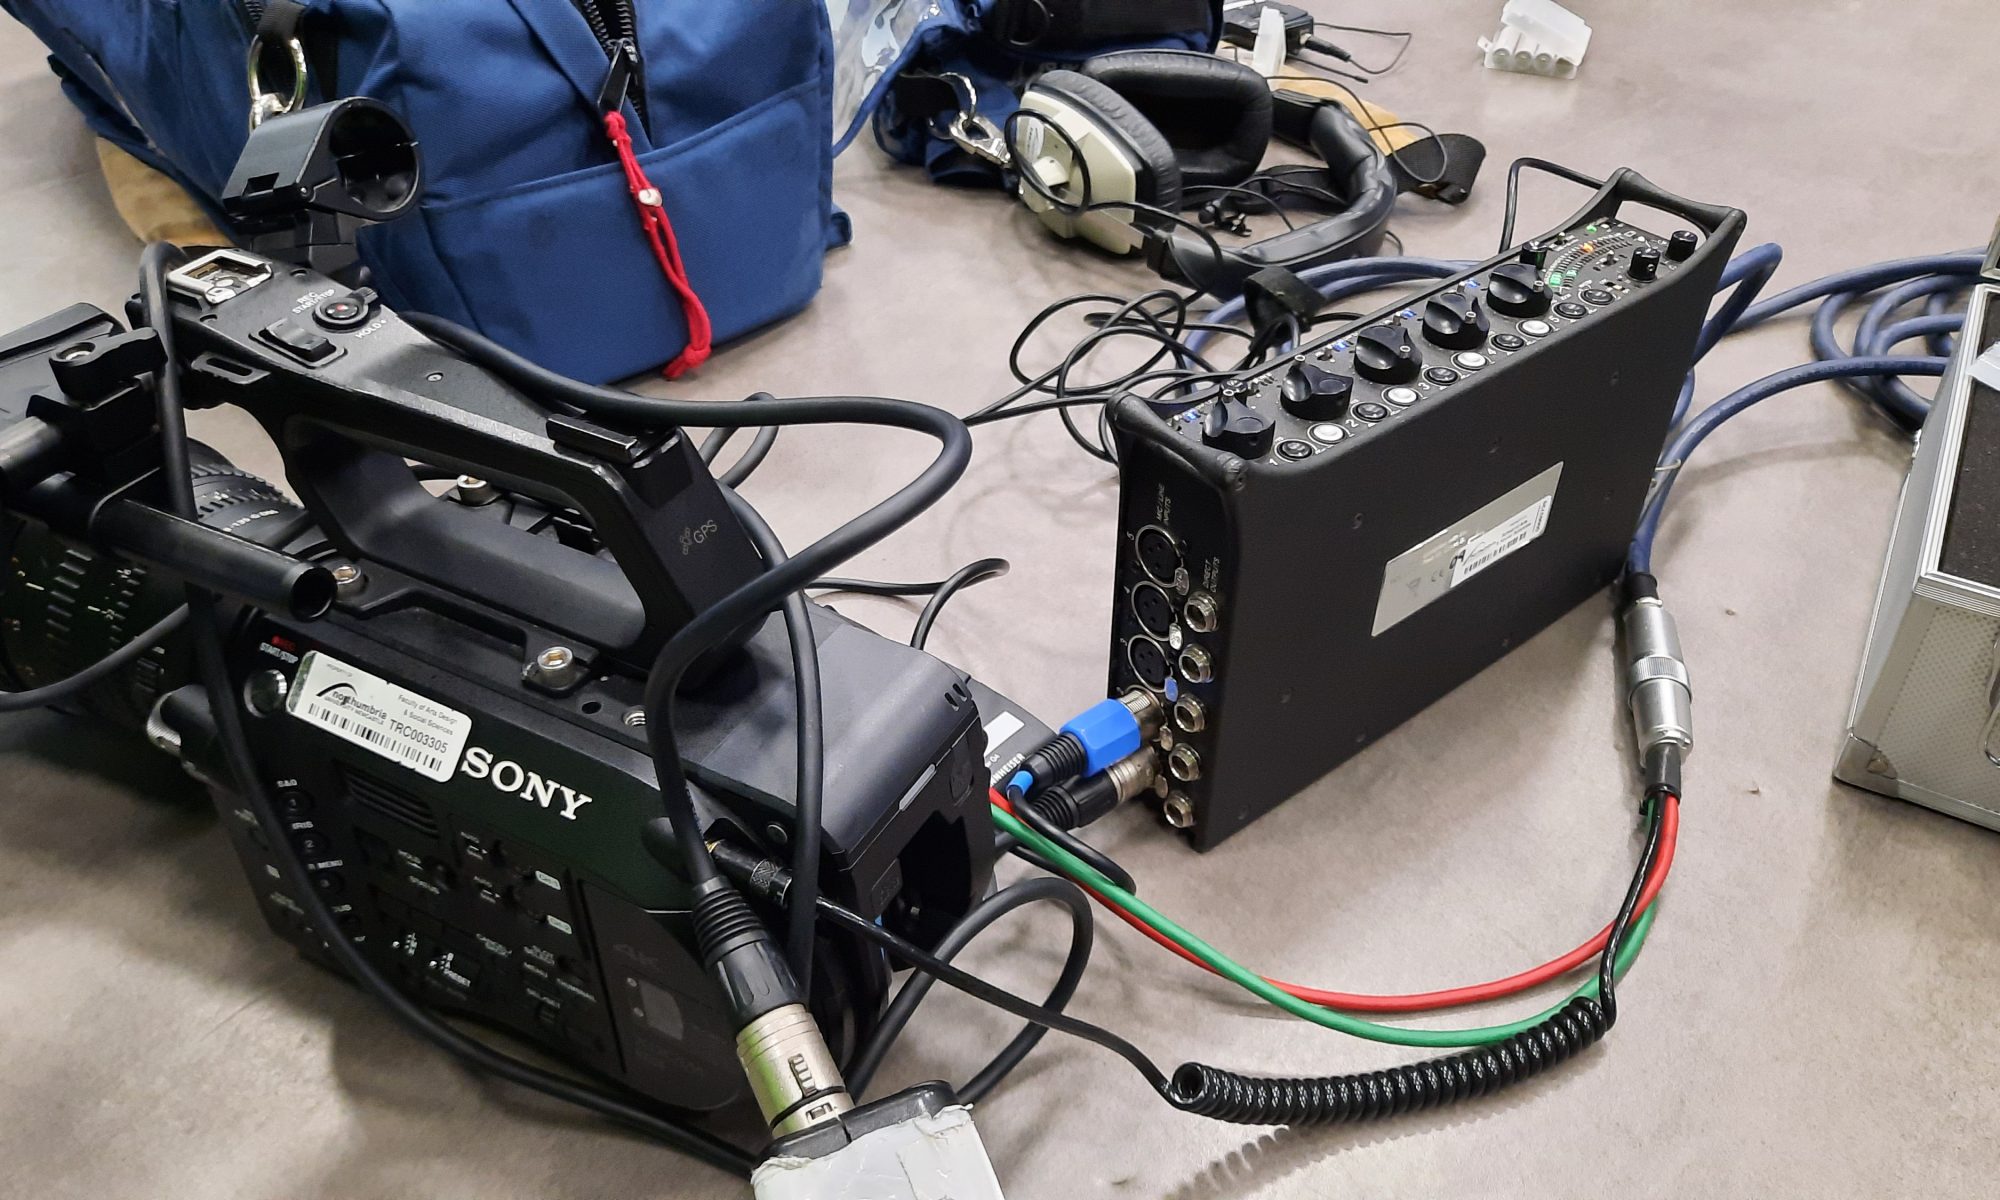
- Take tails
- Screw the cable into the mixer
- Red isn’t right => left (channel 1)
- Plug the headphone jack into the back of the camera
Calibrating the camera
- Turn on the mixer – power INT
- Turn on the camera
- Tone = constant 1 kHz tone, hold the tone button to generate
- Loud things with power => Line, without power => Mic, microphones requiring power => Mic + 48V
- Status button on camera => navigate to audio, set the tone bars to -20 (channel 1 and channel 2 button)
- Make sure all the switches are set on ‚manual‘
Setting up the mixer and microphones
- ‚Flatten up‘ => set everything to zero
- Plug the mic into channel 1 on the mixer with XLR
- If there is a mic, it needs to be set on PH (phantom power); if radio mic, turn the light off
- Open the gain and put the black in the middle, tune the gain to peak in the oranges.
- Use the black button to adjust the volume according to the speaker’s voice.
- Isolate the channels to left and right to reduce the chance of polluting the audio with people talking over each other
- The second knob used to reduce noise
- Two switches undrneatj the umbellical cord => Line, Line
- Plug the headphone jack into the mixer
- Switch the button RTN to „A“ – listen to tje sound from a camera (Middle position means sound from the mixer)
Radio mic
- Transmitter sends to receiver
- Tune it to the same frequency => check for a green light